Nest Cam IQ Outdoor
Skills Displayed:
- UX Research
- Product Architecture
- Acoustics / Audio Design
- Mechanism Design
- Design for Manufacturing
- Design for Assembly
- Reliability testing, FA
- Material Selection
Intro / Requirements
The last major project I worked on at Nest was the Nest Cam IQ Outdoor – a premium wifi enabled security camera for homes an businesses. We built the camera optimizing for the following features:
- Easy, intuitive installation and mounting
- Best in class, two way talk audio system
- “Set it and forget it” hinge, which could simply be pointed to the area of interest and would hold steadily over time
- IK07 impact rated and IP66 ingress rated
- Friendly aesthetic for a typically utilitarian product
Two Way Talk Audio System
During the early development stages on this camera I was working closely with the Audio team – we wanted to make sure to stake out enough real estate for a best in class 2 way talk system. This required both sufficient back volume for a loud enough speaker with good bandwidth to compete with street noise, and enough microphones with good placement to pick up / isolate the conversation from someone standing close to the camera.
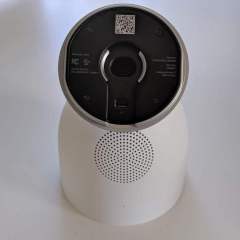
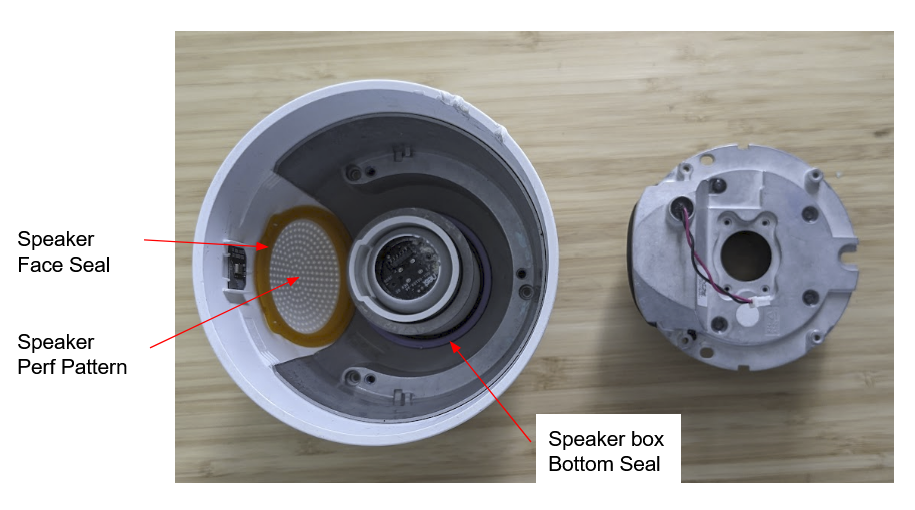
We started by building up several speaker box back volumes and drivers with acrylic enclosures, a tried and true method for quickly prototyping speaker boxes. Our first target audience was the ID team – industrial designers tend to opt for large volumes of tiny holes rather than large holes, which creates a high frequency filter on your speaker and makes things very muffled. After a few iterations, we settled on a radial pattern of 1.5mm holes in a 1.5mm thick housing, not ideal but something we could work with.
After ID, our next internal customer was Product Marketing. After doing some research on street noise levels we decided we would set our intercom prototype up to be used in a ~70dBA environment. This is quite loud, but if we want our users to be able to converse clearly with a package delivery person outside an apartment in a city, it is a reasonable threshold. For the demo, we chose the roof deck of one of our offices that was within earshot of the highway and was measuring about 68dBA. With this setup, our product marketing team agreed with our aggressive targets for the speaker performance. Eventually, we settled on the following specs:
- 85dB @ 1kHz @3m
- 400Hz – 20kHz bandwidth
- 38mm driver
- 35CC back volume
- Full duplex capability
- -40C to 105C operating temp
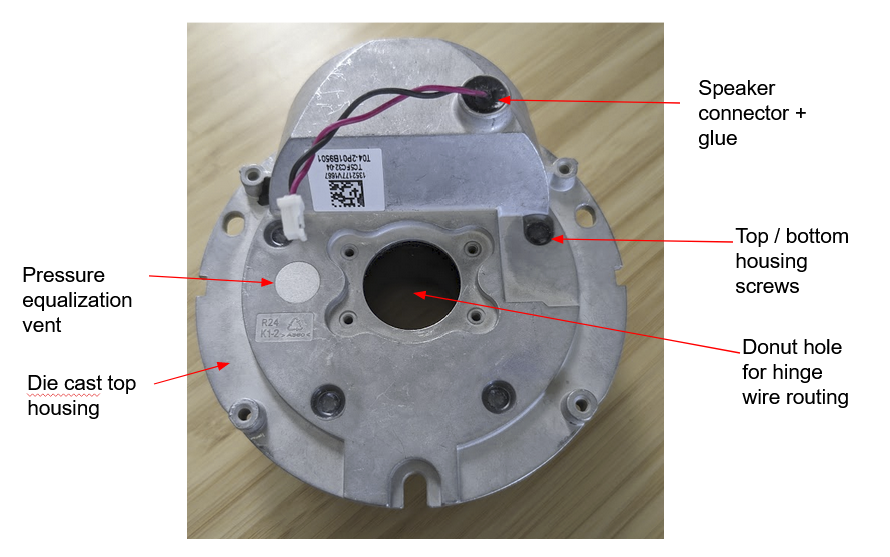
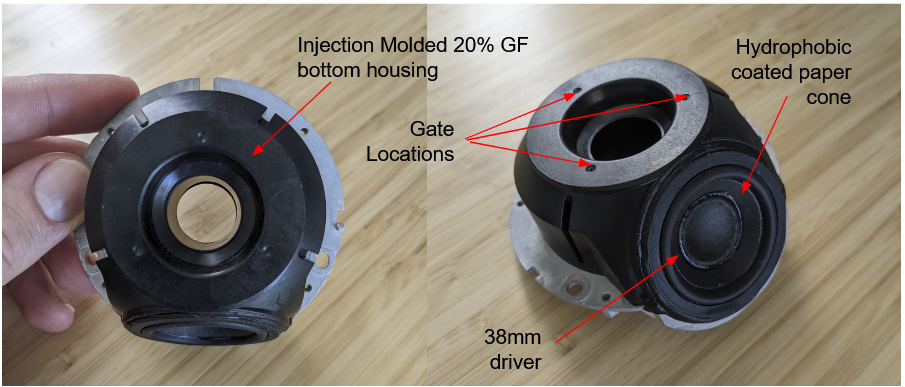
Working with the other requirements on the product, we settled on the design shown below with an enclosure made up of a die cast metal top (for heat spreading), a 20% glass filled PC bottom (to match the Aluminum’s CTE), and a donut form factor to allow the hinge wires to pass inside. This box was sealed to the enclosure by a series of O rings and gaskets during assembly.
Microphones
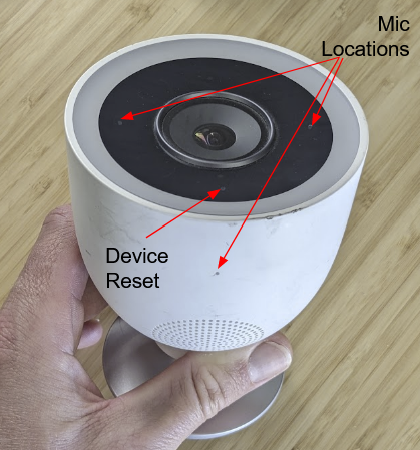
When discussing requirements for microphones, one important element for our algorithms was the ability to recognize not just how loud a sound was but where the sound was coming from. This would allow us to focus on audio of interest that was being delivered from near the camera, without having to rely on exactly how loud it was. We used multiple microphones and some DSP algorithms to accomplish this. Two microphones allows you to understand which side of the device sound is coming from, three microphones allow you to locate a sound source in 3 dimensions, and 4 microphones gives you a huge improvement in the quality of the signal, with some redundancy on the 3 microphone system. After much discussion with marketing and ID, we were able to agree to a 3 microphone system with 2 on the camera face and one on the bottom side. For 2 way talk, it is important to isolate the microphones from the speakers as much as possible, so the performance of the 3rd microphone is slightly inhibited by it mounting to the main housing, where the speaker is also mounted. Microphone port diameters and lengths were based on waterproofing and simulation, and finally validated to ensure that any filtering from the port geometry would not inhibit the algorithms too severely. In the end, this feature came out great and 2 way talk works seamlessly as long as your wifi bandwidth can support it.
Installation
After surveying existing security cameras, we realized that they were a pain to install, difficult to set up, and usually very invasive to the home. As a result, we wanted a product that required minimal holes drilled into your house, could be mounted quickly and easily, and pointed in any direction the user desired. This combination of goals led us to a single USB-C connector in the base to plug the camera in, a mounting mechanism that allowed mounting of the device to the wallplate with a single push on, and a hinge that could articulate freely and without limit once installed.
Hinge
The hinge for the camera, as described above, needed to be able to be rotated in a nearly unlimited range to make installation as simple as possible. After many rounds of brainstorming and different limiting mechanism designs, our team decided that we would allow unlimited rotation through the use of a slip ring. This would also make the hinge unlikely to break; if the camera was struck by something like a football, the hinge would simply slip and sustain no damage, and the user could reset the direction of the hinge once again.
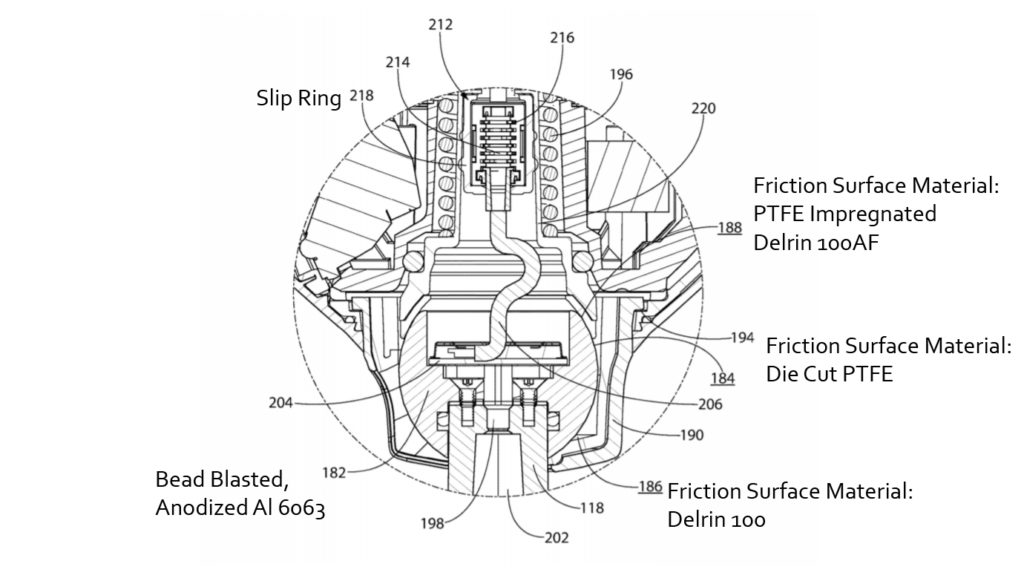
Since this hinge both needed to be buttery smooth but also high friction force, we used a combination of low friction materials and a 250N spring. The friction pairs for the 3 degrees of freedom are anodized aluminum against acetal, anodized aluminum against Telfon fiber impregnated Acetal, and die cast aluminum against a die cut PTFE ring. The resulting hinge is a pleasure to interact with – Well damped, smooth, and also high enough force to stand up to vibration, wind, and any birds that might land on the camera. The demonstration below shows the 3 degrees of freedom, the hinge feels very stiff when its is not fixed to the wallplate but you can get an idea.
IK07
These stringent reliability requirements fit within a bold industrial design required a lot of innovation from our team. The IK07 test is pretty intense – check out a video here.
To survive this sort of impact, we did two main things. First, we created a die cast aluminum part that was glued into the main housing. This had the added benefit of being a great heat spreader to cool our SOC, the aluminum insert part was a vital part of our thermal pathway that tried to heat the largest surface area of the outer housing in order to maximize cooling.
After the locking mechanism of an early prototype failed by ripping through the aluminum plate it was held in by, we decided we couldn’t take any major risks and worked with ID to make a 1mm thickness growth of the base. This growth was taken up by a 1mm thick, full hard stainless steel plate. Our next exec review featured a video of various team members hitting our product with a baseball bat and a hammer, and being unable to knock it from the wall.
IP66
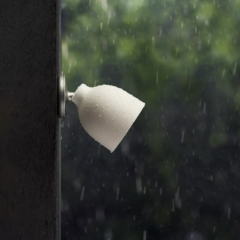
If you haven’t had the privilege of using an IPX6 tester, you might think that this test is easier than IPX8. After all, it’s a lower number. But dig in a bit and you’ll see that the test is performed with a fire hose – the power in this stream will actually snap pieces of plastic and water has a nasty habit of wriggling its way into even the tightest enclosures.
This camera had 15 ingress paths and all of them had to be sealed, across all devices. Working with our reliability team at Nest, I built several custom fixtures to allow them to test one seal at a time. There were several strategies that had to be employed:
- The pressure of the front of the stream had to be broken by small openings wherever possible
- The hinge in the camera is a semi-wet compartment – water could be present in this area by applying a conformal coat to the PCB, the rest of the moving parts are radially sealed with silicone rubber parts
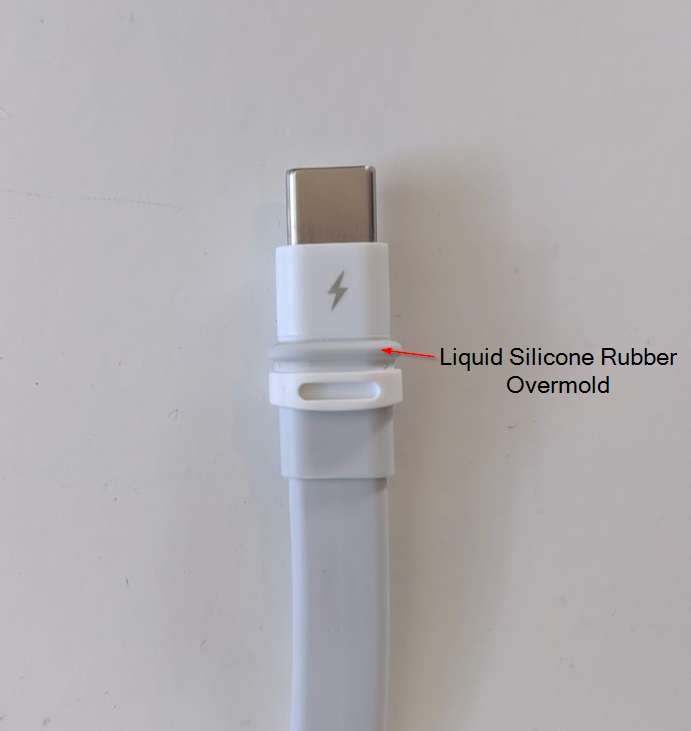
- The USB-C Connector used a 2 shot Liquid Silicone Rubber sealing connector. This was a technology that was still on the cutting edge – there is a lot of complexity to the tooling and ensuring adhesion with Silicone. The resulting part slides smoothly into the camera and seals quite reliably.
- Many silicone rubber parts were applied to act as internal seals within the product. Rigorous tolerance studies yielded confidence that these would seal across manufacturing tolerances at all operating temperatures.
- In the case of microphones, a PTFE mesh was applied to the inside of holes that let air pressure (sound waves) pass through but kept water out. Hole size and port length had to be tuned to ensure meshes would not be broken by water or cause troublesome acoustic resonance
Aesthetics
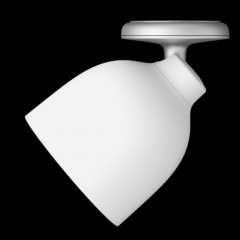
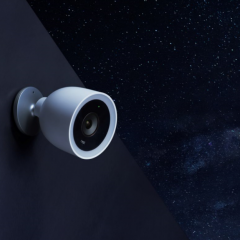
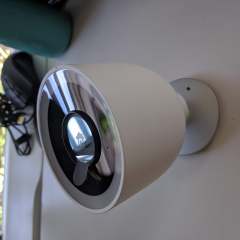
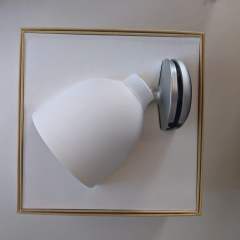
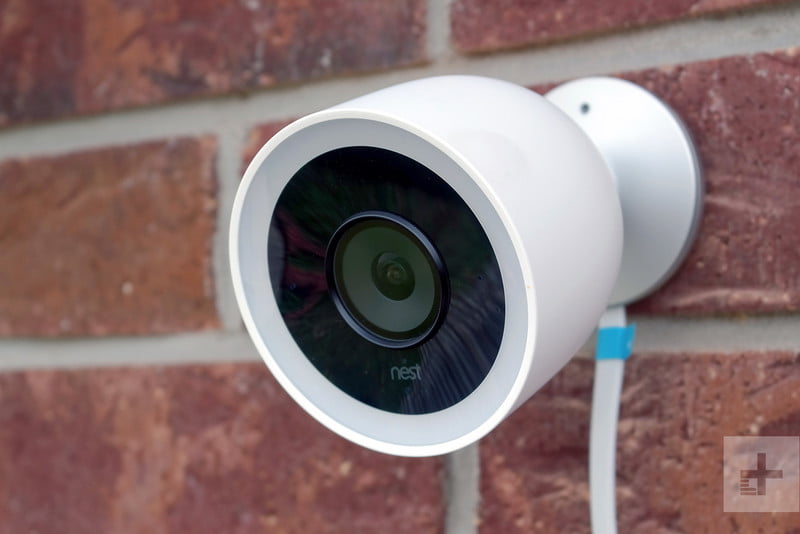
While this realm was left to the industrial design team, I am really proud of the collaboration that occurred between our mechanical team, the industrial designers, the manufacturing and supply engineers, and our factory team. This product comes out of the box looking and feeling friendly, rugged, and high quality. Check out some of the images below.
