Skills Displayed:
- Product Architecture
- Design for Manufacturing
- Material Selection
- Lighting / Light Guides
- Tolerance Analysis
- Creative problem solving
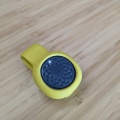
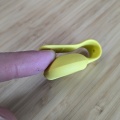
During my last 6 months at Jawbone, the company had decided that they needed to release a low cost, belt and wrist capable fitness tracker that would expand the market they were selling to. And they wanted to bring it to market in less than 9 months – so we had to get this thing out quickly and without any hiccups.
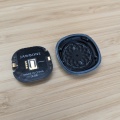
After some brainstorming sessions with the ID team we decided on a small “squircle” design with a ring of dash icons to indicate time as well as progress towards the user’s goal, and 2 icons to indicate modes of the product. The device would have a single button in the center, that used the “screen” as a flexure and would give a good snap feel.
Button
There were several design concerns related to the button on this product:
- Button activation force should be low, repeatable, and steady over the course of product life and throughout all use conditions
- Since the screen was used as a flexure, the material used would need to remain clear despite cyclic stress loading or chemical attack.
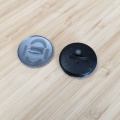
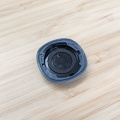
The first issue we encountered was with the button force – there was an inconsistent and wide spread variation on the force in our first build. Before installing the battery door, this force was much more uniform. This led us to believe the installation of the battery door, with an O Ring, was creating a high pressure within the device, which was inconsistent and effecting the button force. This was confirmed after removing the O ring, and to fix this in production a small vent was added to the battery door part. This vent was covered with an IP68 mesh to keep the system waterproof.
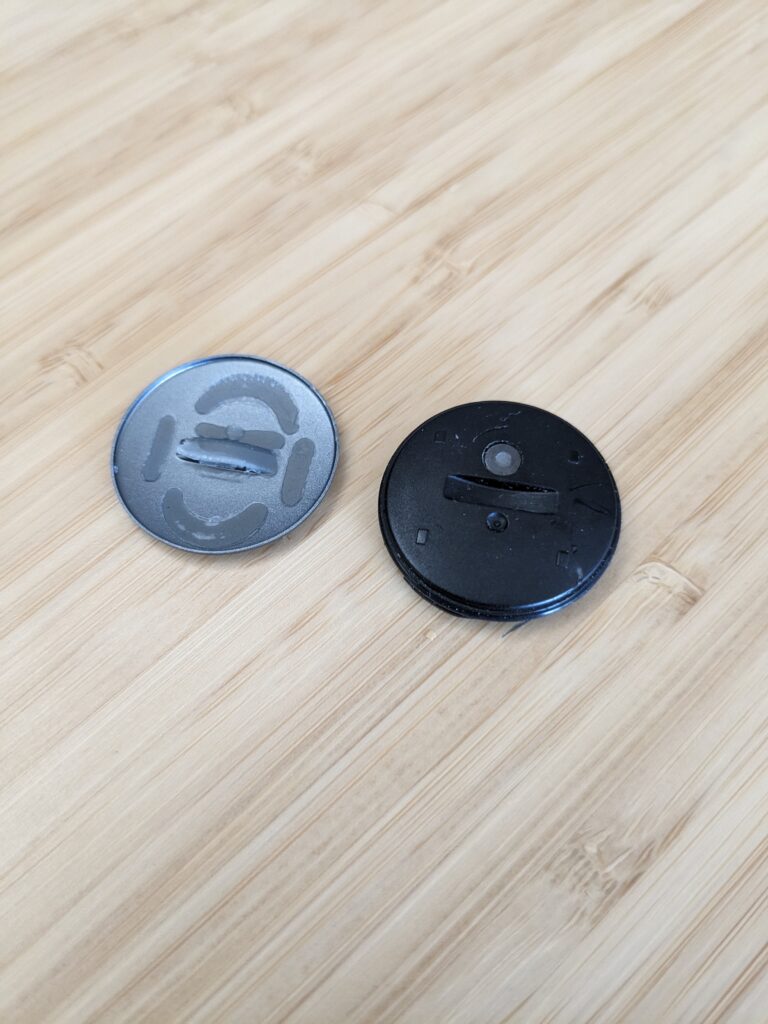
The second issue occurred due to a material choice – we initially selected a clear PC because of its high impact resistance, price, and its water clear characteristic. In our design, the material was only .7mm thick in its thinnest sections. This is really pushing the capabilities of PC to flow. In addition, after button cycling the water clear PC had turned white / cloudy. This is a type of fatigue that is particularly visible in PC. Because of these 2 issues, we decided to try a nylon material called EMS Grivory TR-90 – it is close to water clear, phenomenal in fatigue, and very chemically resistant. The tradeoffs were a bit higher cost, a more difficult glue joint, and a bit more attention required to processing (you have to be very careful to dry Nylon pellets, otherwise they will absorb moisture and exhibit poor dimensional stability) but the new material solved these 2 big issues.
IP68
This was my first experience working with an IP68 sealed device. For those who don’t know, the IP standard is for water and dust ingress. IP68 requires a completely dust proof rating, and a submersion to depths of 1m or more for a given time without any water ingress detected or failure of the device.
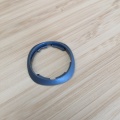
Luckily for us, O rings are a real tried and true solution to this issue. There are design guides for O Rings such as this Apple Rubber Guide and while you may not be able to use an exact off the shelf O ring and gland design, you can usually find something you know will work. We did run into a couple of problems – our supplied had a large amount of flash that was causing some leaks. In addition, the friction created during installation was causing some O rings to extrude into the gap or stretch / deform. These problems both came down to supplier quality and processing – we had them use cryogenic deflashing until they could get their flash in spec, and apply a PTFE lubricant which they dipped the O rings into. After running these through our environmental and chemical tests we saw that they lubricant still did its purpose and we declared the IP68 issues solved.
Lighting / Icons
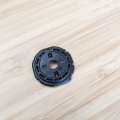
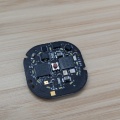
The renderings our ID team had provided showed clean, crisp icons on this device and their mockups also showed that this was a really cool feature. However in our first production run, as is often the case, we had lots of issues with light leak. At the time we had a diffusive PC part that was snapped onto the board, and then an air gap between that part and the front “screen.” This was creating a lot of cross talk between all of the varying icons. After some quick prototyping with a foams, it became clear that with the small thicknesses we were looking at we were going to have to use opaque plastic. So my first exercise with a 3D TA was born, needing to make a light blocking part that would sit directly on the PCB, getting as close as possible to the components to stop light bleed without ever interfering with them. For this part, we selected a black ABS for its easy molding and low cost, and the part did its job. Check out the video below for the startup animation, it isn’t perfect but there is good differentiation between each individual LED.
